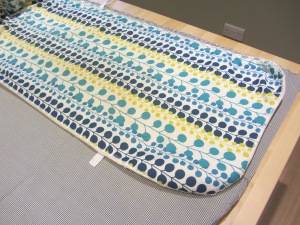
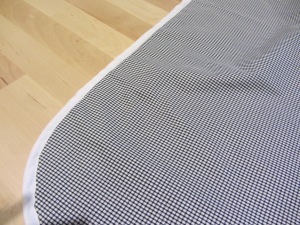
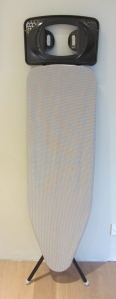
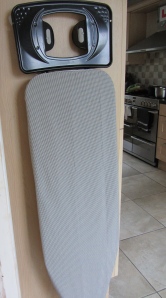
It was an overcast rainy Friday. I fancied a leisurely start to the day. I always seem to be rushing around never taking a moment to pause. I was in need of a slow start. The dark overcast morning made me lay in a little later than usual. I sat eating my morning porridge and in doing so glanced across to my ironing board leaning against the kitchen wall. Hmm… time for a new cover! I haven’t made an ironing board cover before. I’ve often thought about making one, but have always ended up purchasing them from a store, yet they look so straight forward to make! I rummaged in my fabric cupboard to find a suitable material and before long was cutting and stitching. Here’s how it’s done.
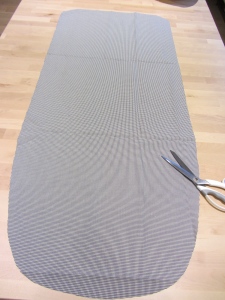
Lay the old cover on top of the fabric to use as a template. You don’t need to worry about seam allowances. Just cut it to the exact same size as the old one.
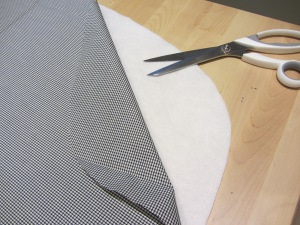
I decided to line the back with a piece of curtain interfacing I had. You could always use an old towel or even reuse the sponge lining from the old cover. What ever you choose, cut a piece exactly the same size as the cover.
Pin the two layers together and machine close to the edge all the way around to secure.
Next you need to add the cord to gather the edge of your cover all the way round. I had a whole roll of blind cord I use for my roman blind making workshops. It was perfect for the job, but it’s easy to get hold of from haberdashery stores. You could even use the cord from the old cover. I needed something to house the cord, so some 1″ (2.5 cm) white tape I had was ideal for the purpose. It was a little fiddly to do this next stage – perhaps slightly wider tape might have made the task easier!
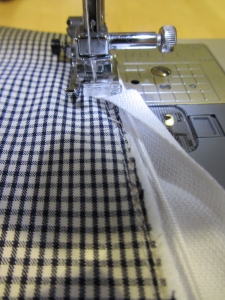
Starting at the centre point of the narrow end of the cover, I machined one edge of the tape to the back edge of the cover all the way round leaving the two ends a few cms longer where they met. I would have to return to that part later when I had decided how I was going to finish it!
Facing the cover right side up, I lay the cord along where the tape and edge of the cover met. I placed it under the machine foot and bringing the other edge of the tape up and over to the top, with the cord laying inside, made my way slowly around the edge. Don’t rush this part! You have to do this very carefully so as not to accidentally machine over the cord!
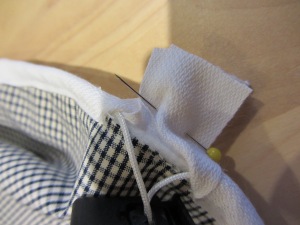 Once I had sewn all the way round I had to revisit the ends. It’s a bit like adding bias binding as an edging really. Once you get to the point where the two ends meet you have to machine them across inside and trim away the excess, so that when you turn it to the right side, it looks as though it’s all one length and sits flat and neatly around the edge of the main fabric. The ends of the cord need to be exposed by a few cm at each end so you do need to leave a gap for these to hang out from the tape. I used the plastic toggle which had been supplied with the original cover to hold the cord tight. After threading the two ends through the toggle, knotted them together to ensure it didn’t slide off.
There we have it. A rainy day project that only takes a couple of hours at the most.

